
Go to the Server Manager.
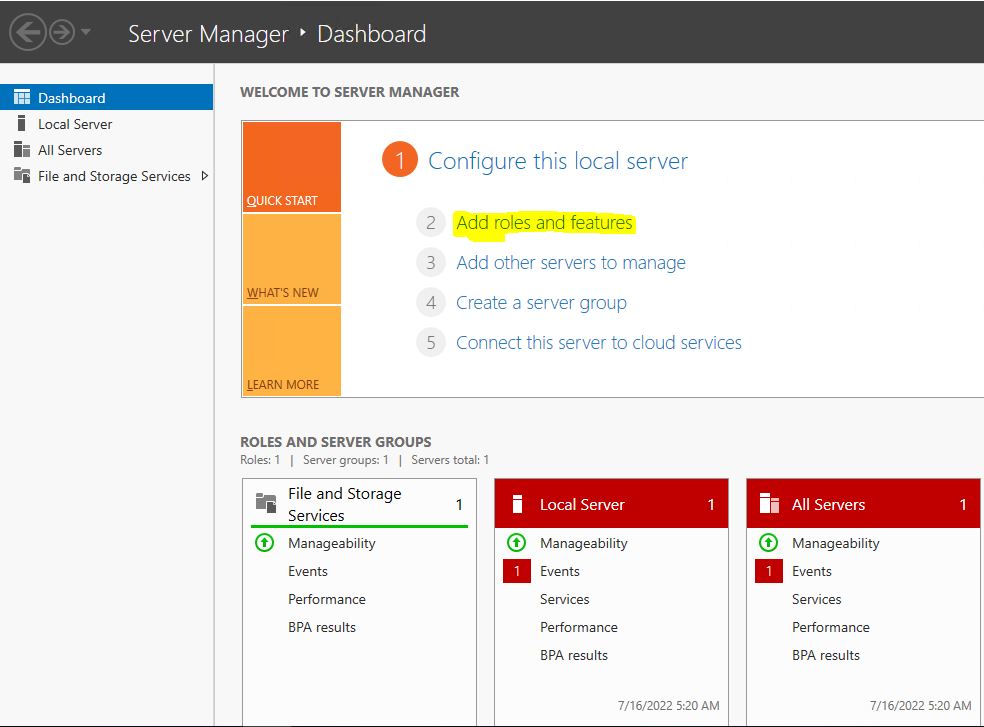
Click on Add roles and features.
Click on Next.

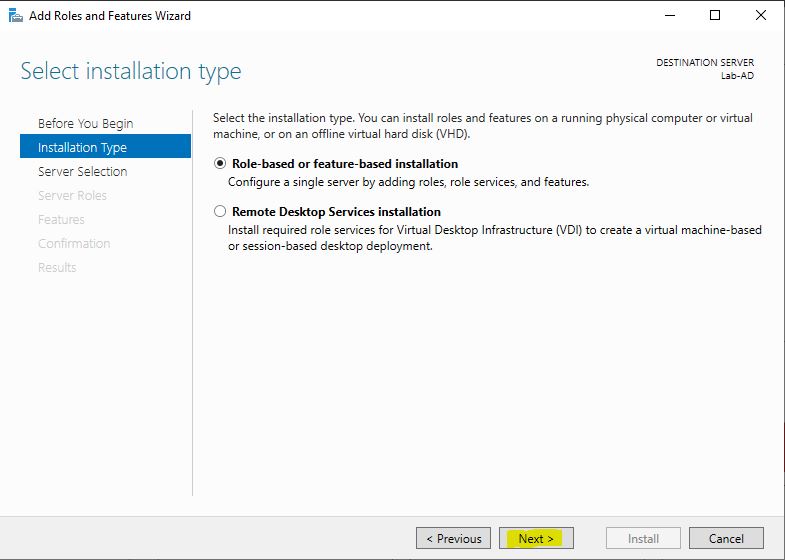
Here select the Role-Based or feature-based installation, then click on Next.
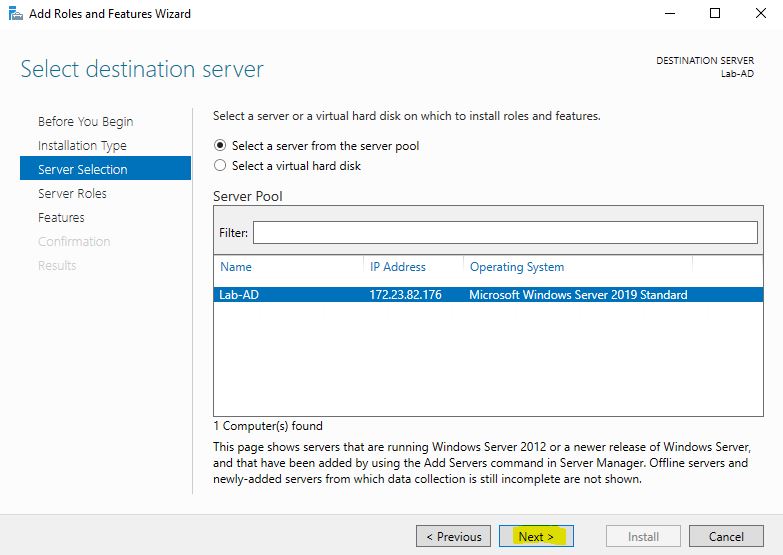
Here follow the blow screenshot and click on Next.
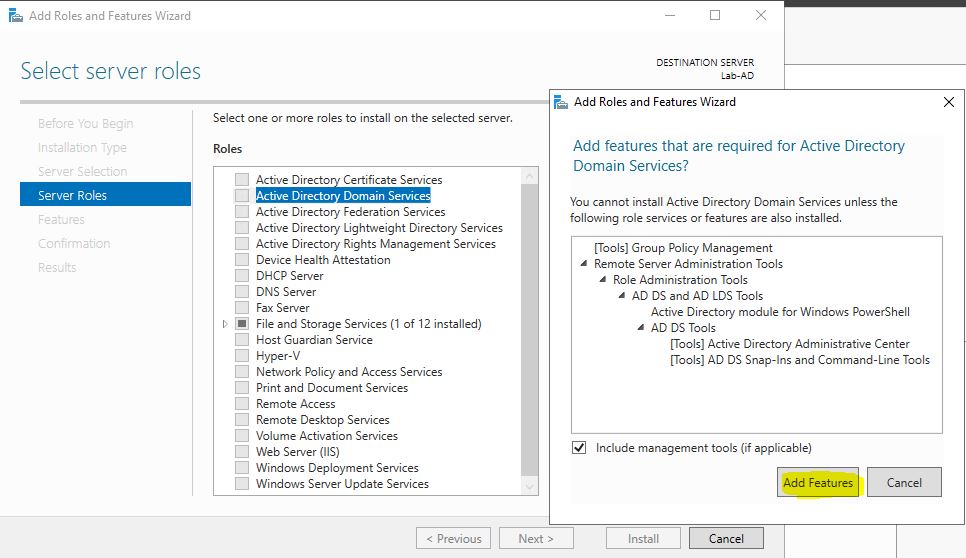
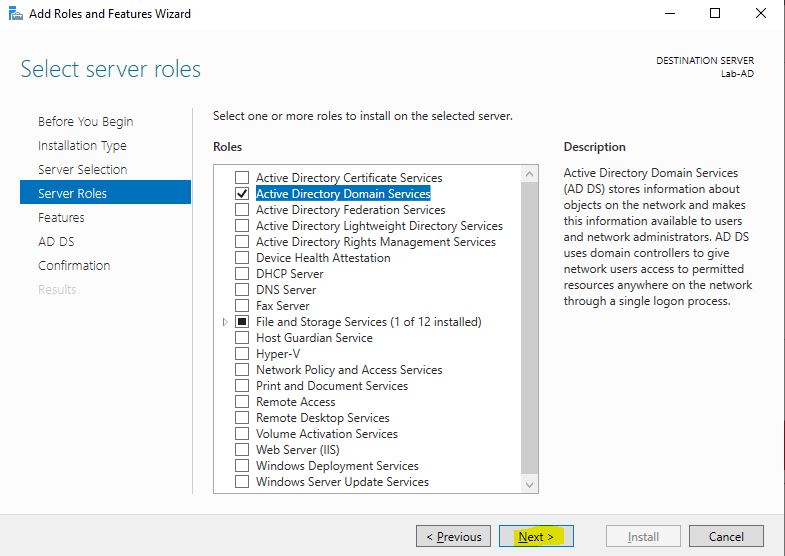
Here select/click on Active Directory Domain Services, then click on Add features.
Then click on Next.
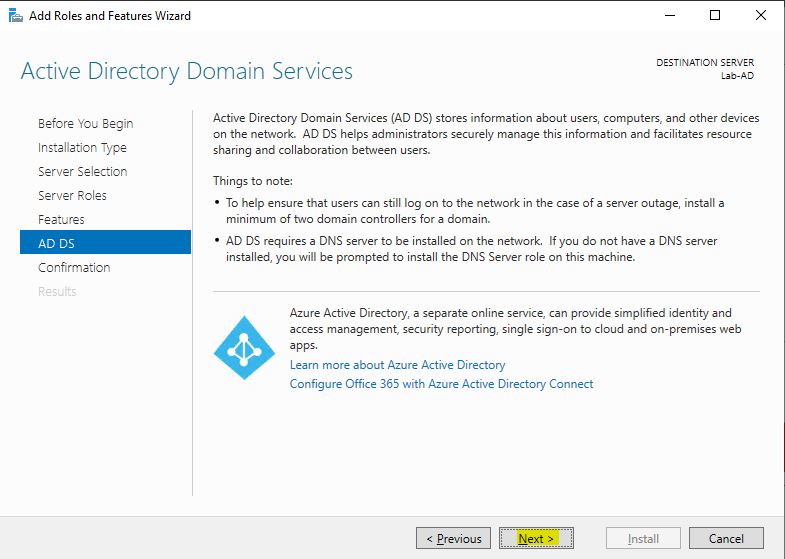
Here click on Next.
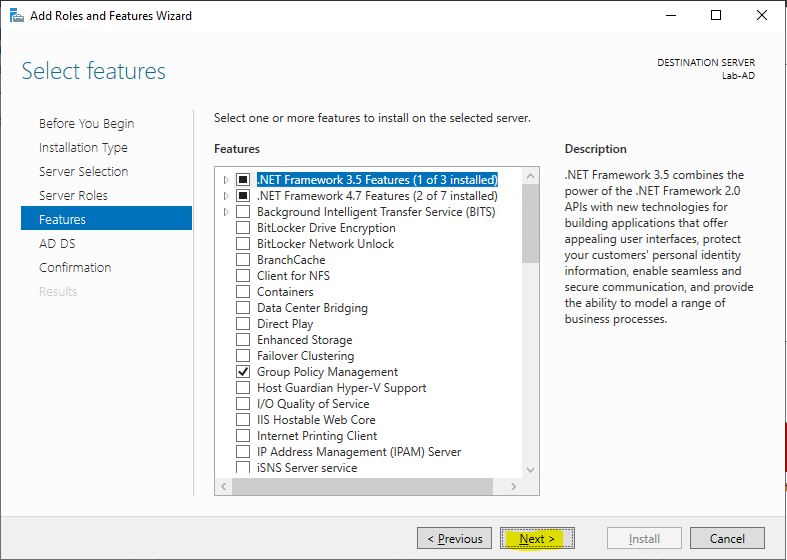
Click on Next.
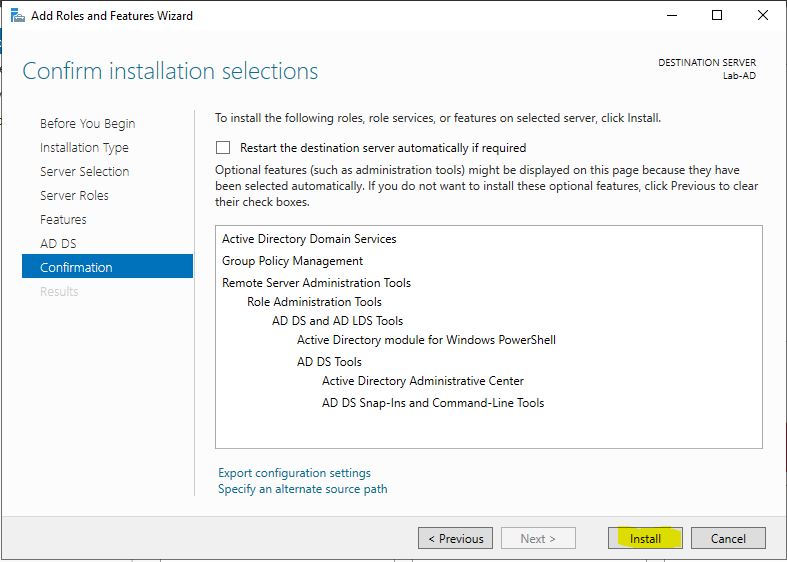
Here click on Install.
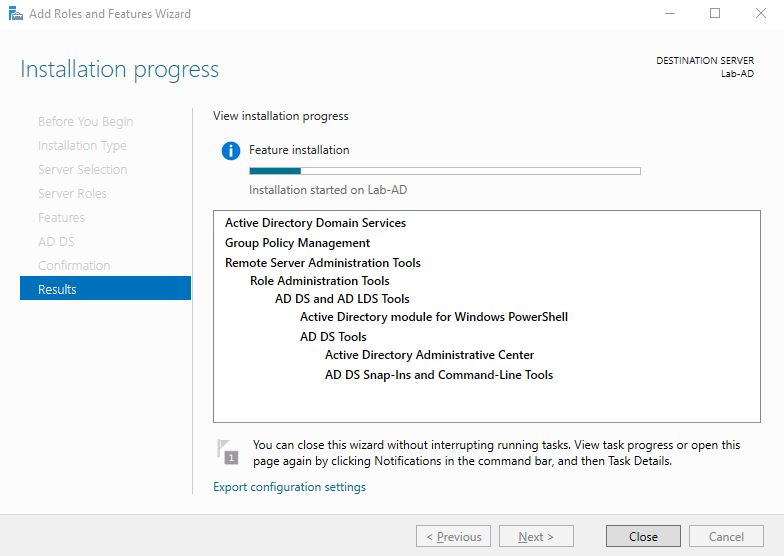
Then AD Features will be Installing.
After the installation click on Close.
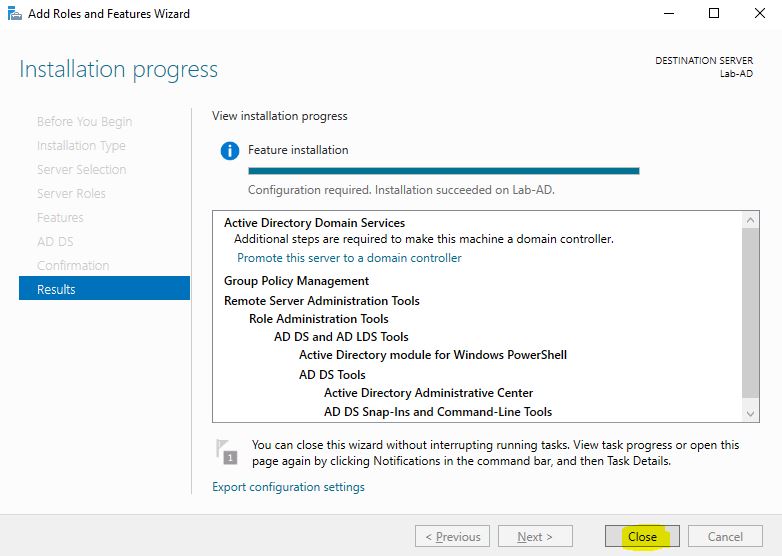
Now AD has been installed.
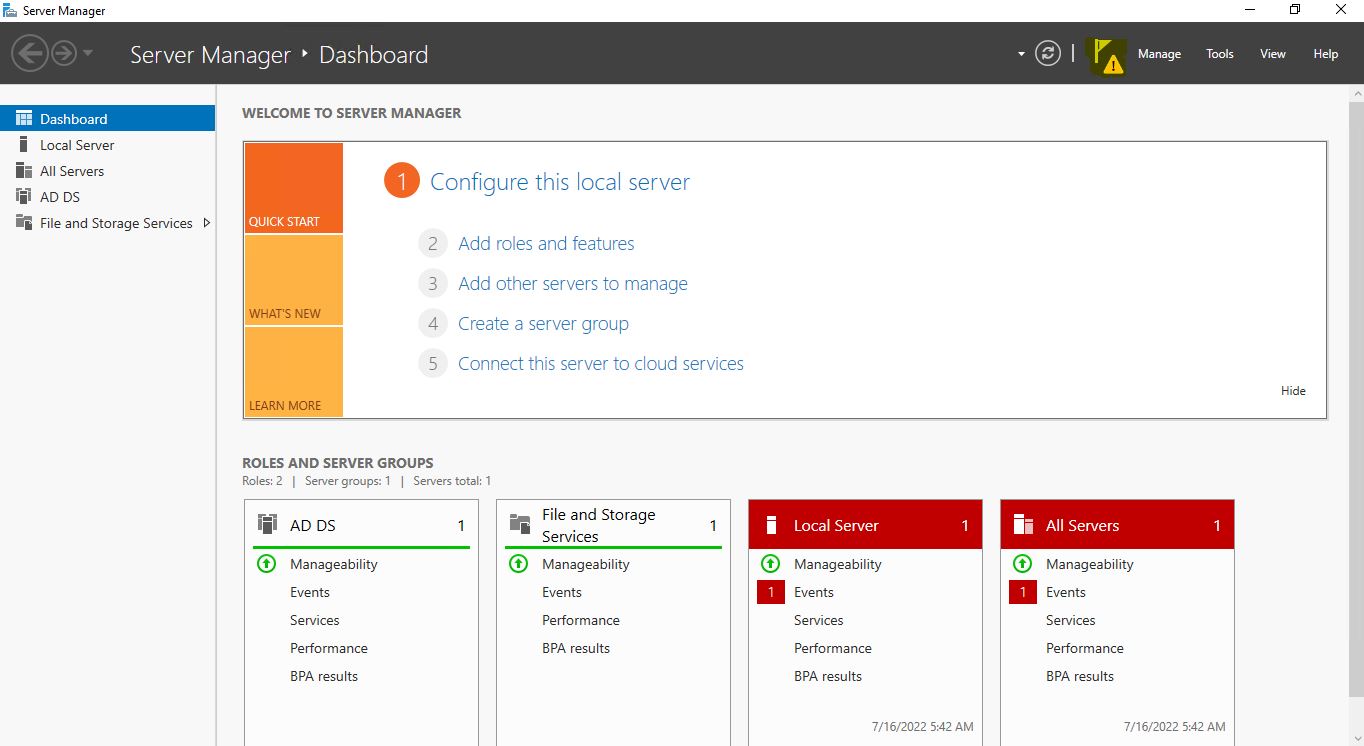
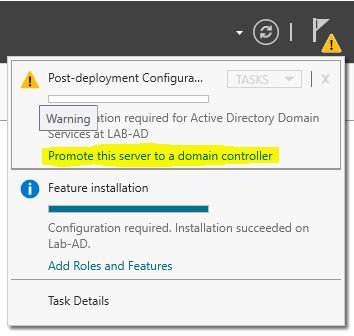
And then we will add the Domain Name, for that click on Notification Symbol and then click on Promote this server to a domain controller.
Here select the Add a new forest and put the Domain Name then click on Next.

Here follow the blow screenshot and Create the Directory Services Restore Password, then click on Next.

Here click on Next.

Click on Next.

Click on Next.

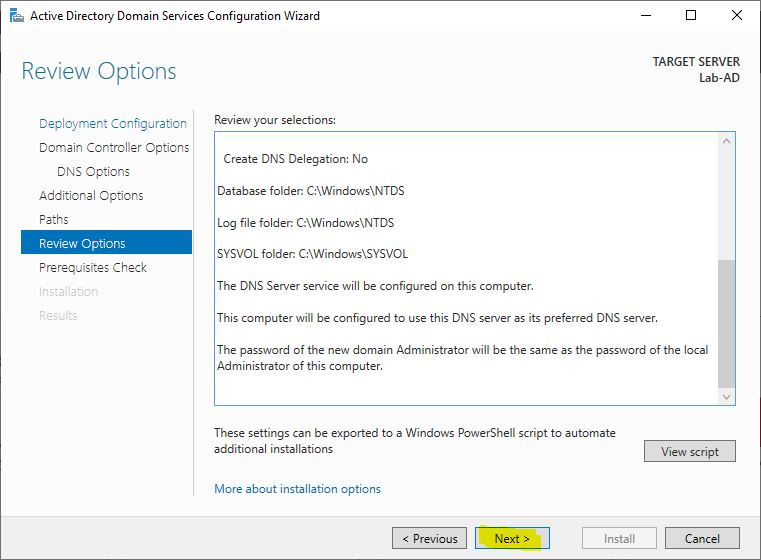
Here we can seen our selections Review, then click on Next.
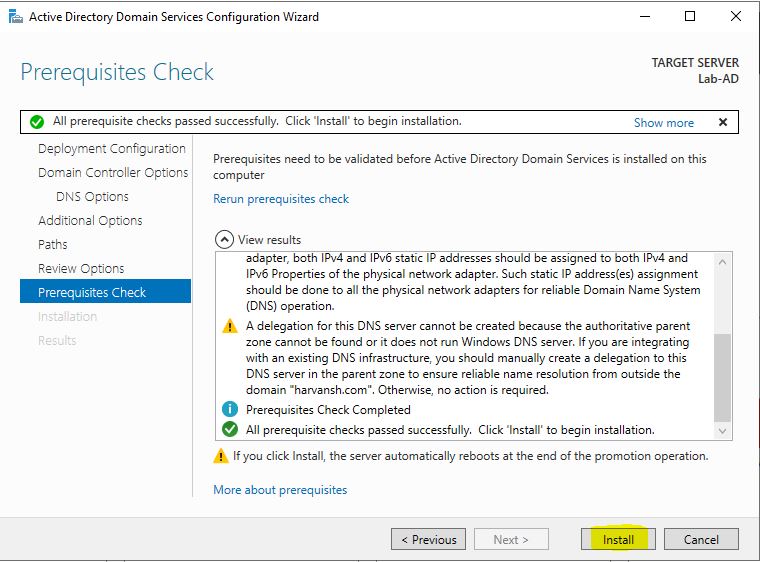
Then Click on Install.
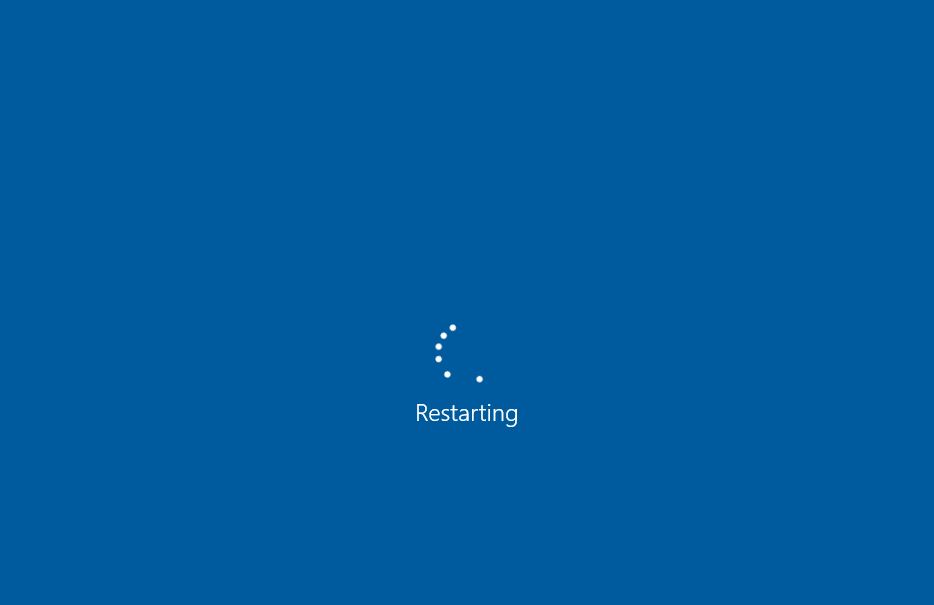
After the installation process your Machine will be automatically Restarting.
This way we can check the Active Directory is Installed or not Installed, click on this.
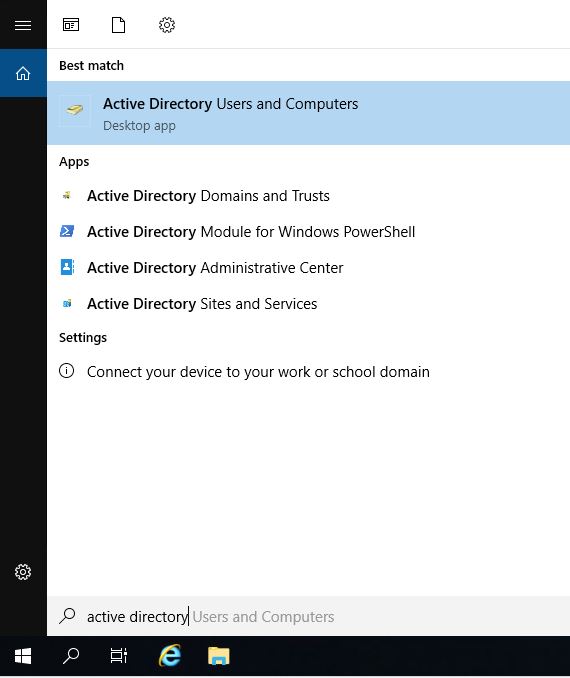
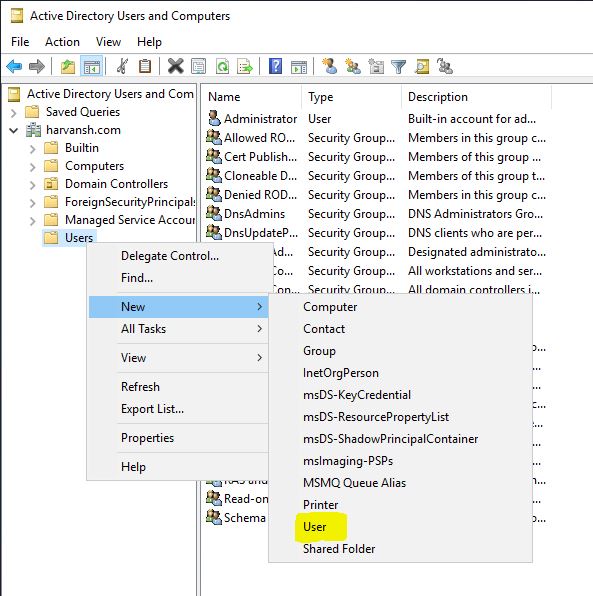
Click on your Domain Name arrow, then right click on Users and click on New, then click on User.
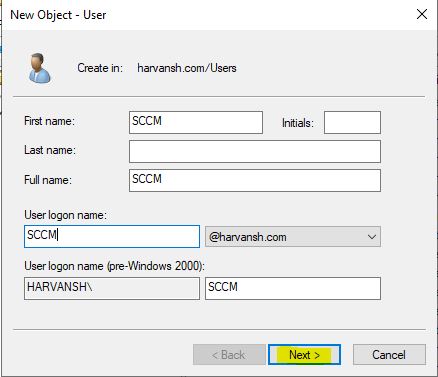
Then fill the detail same as Blow Screenshot, then click on Next.
Here select Password never expires, then create the password then click on Next.

Here click on Next.

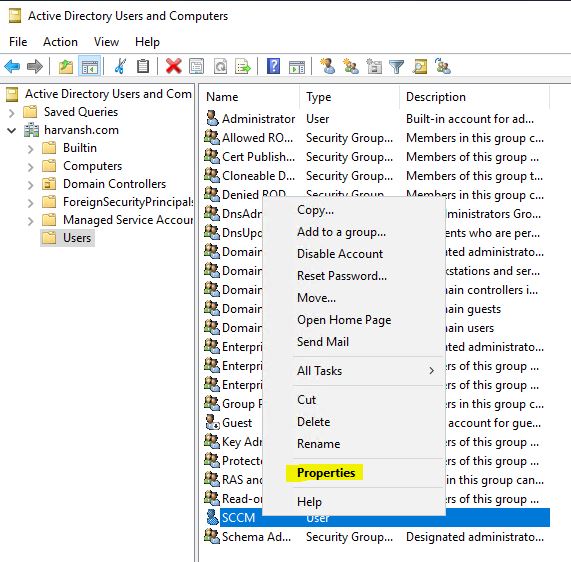
Then right click on SCCM User, then click on Properties.
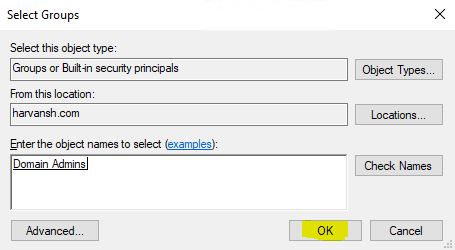
Here click on Add.
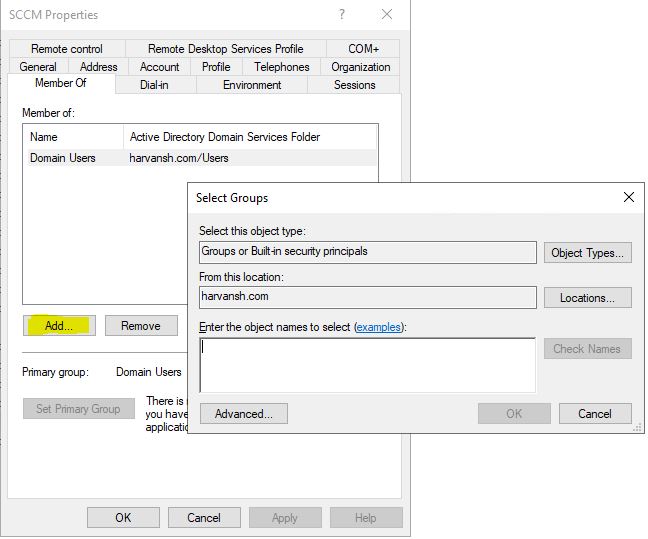
Enter the object name to select, then click on OK.
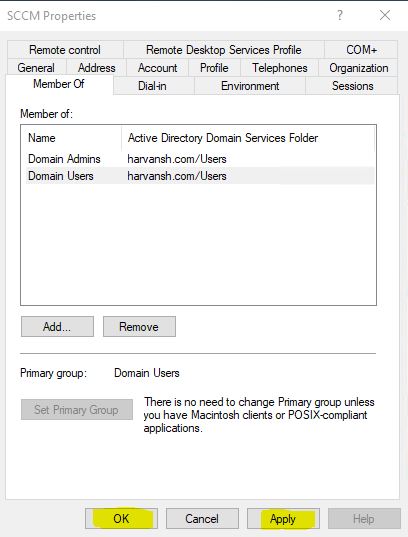
Select the Member of and add Domain Users, then click on Apply and OK.
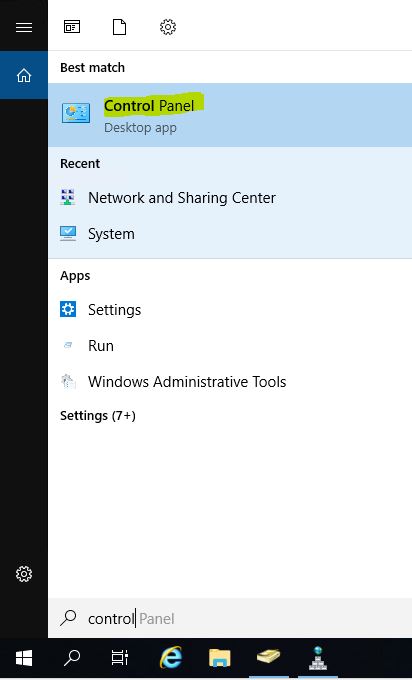
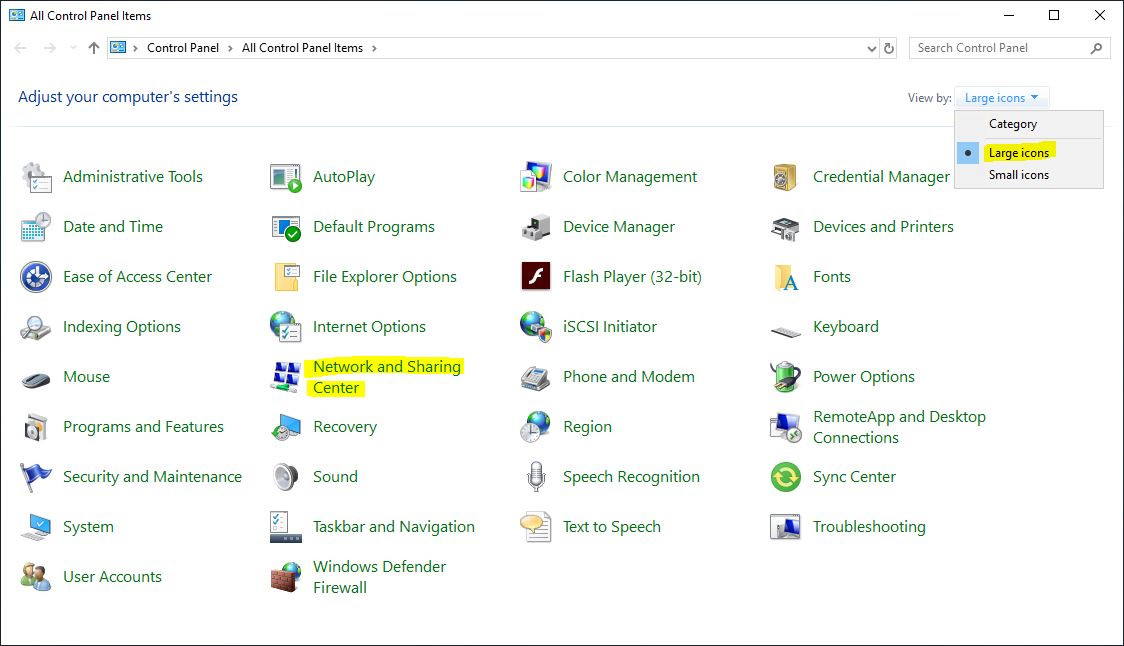
Here we will check the IP Address, then go to Control Panel.
Under the Category select the Large icons, then click on Network and Sharing Center.
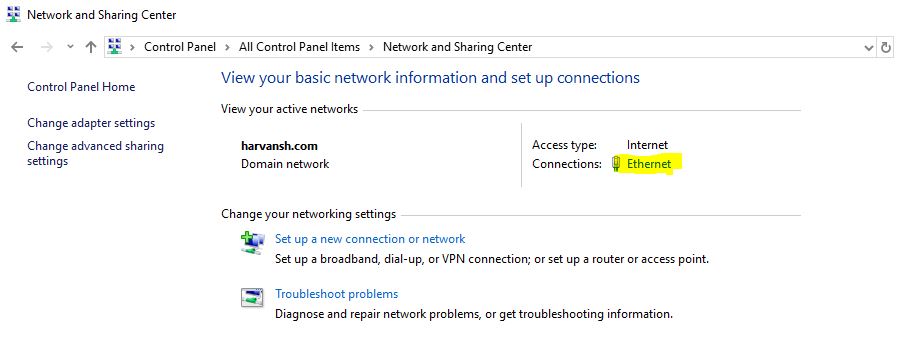
Click on Ethernet.
Here click on Properties, then select the Internet Protocol Version 4 (TCP/IP) and click on Properties.
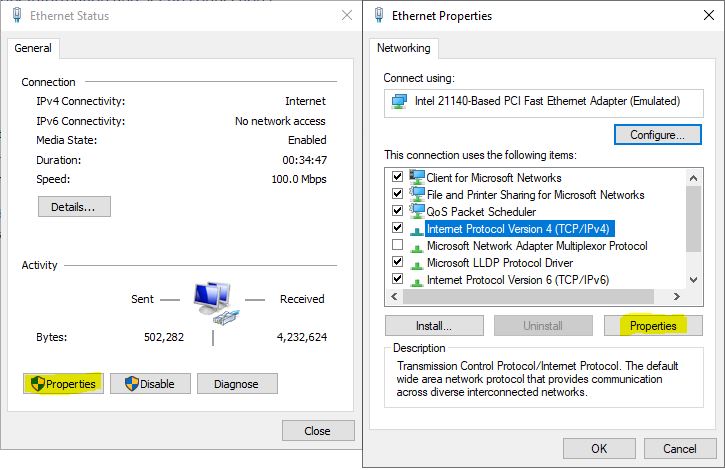
Here we can seen the IP Address.
