Go to the Hyper -V Manager and follow the blow screenshot.
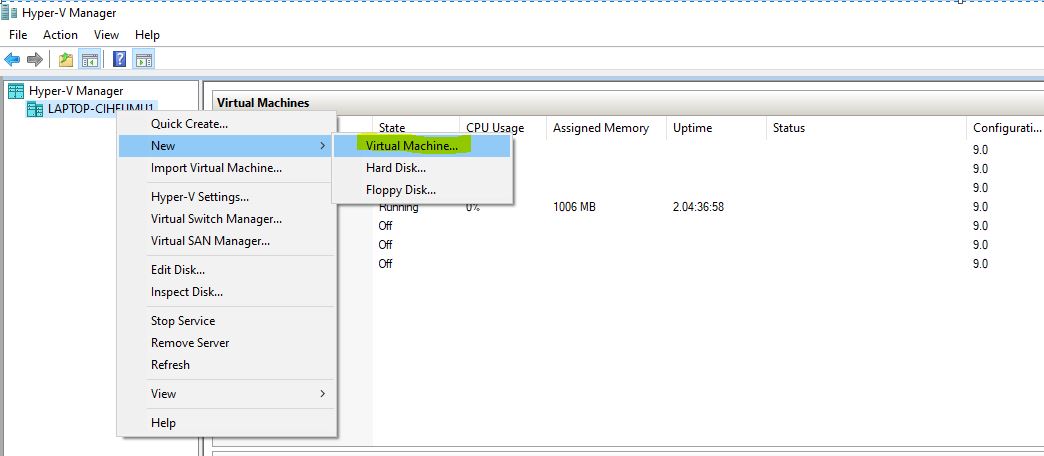
Click on Next.

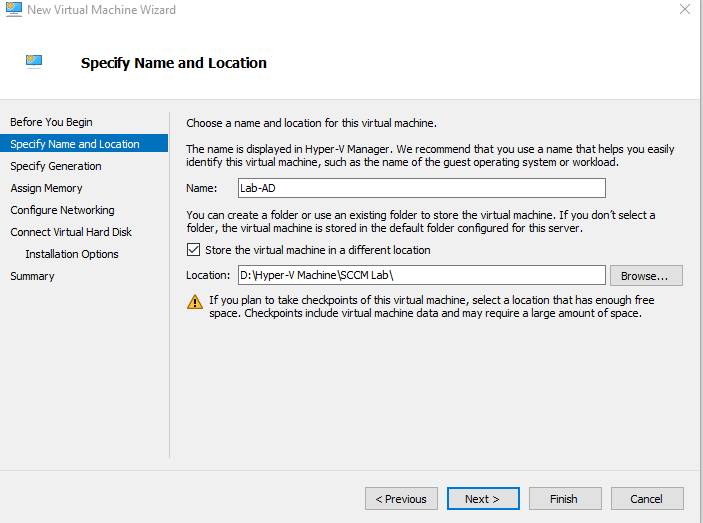
Enter the Name and select the Virtual Location then click on Next.
Here select the Generation and click on Next.

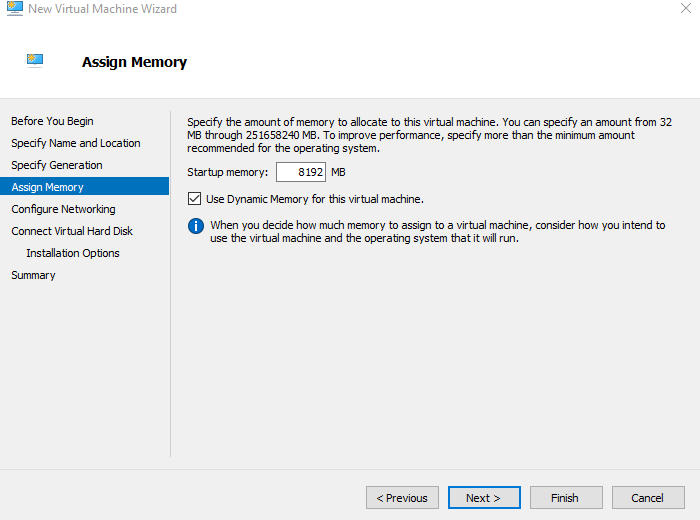
Here enter the Memory in MB how much you want then click on Next.
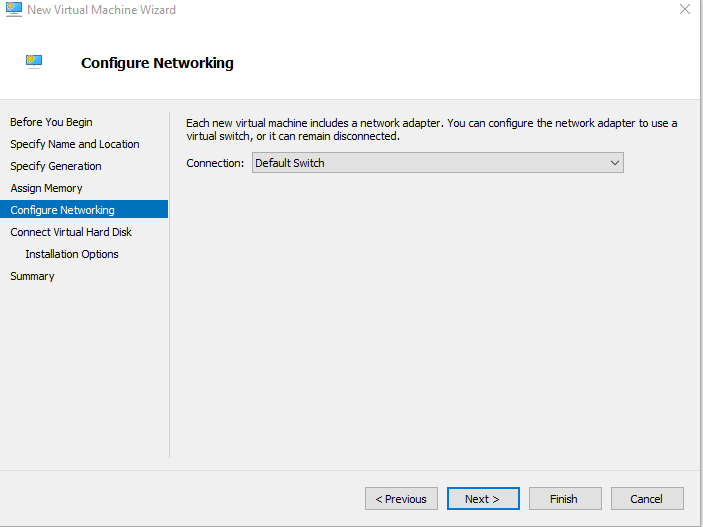
Select the Connection and click on Next.
Here select the location and click on Next.

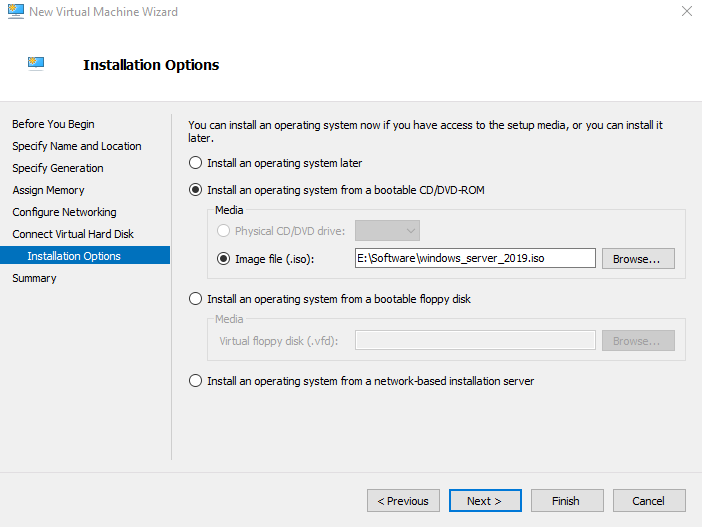
Here select the Windows Server ISO file then click on Next.
Here click on Finish.

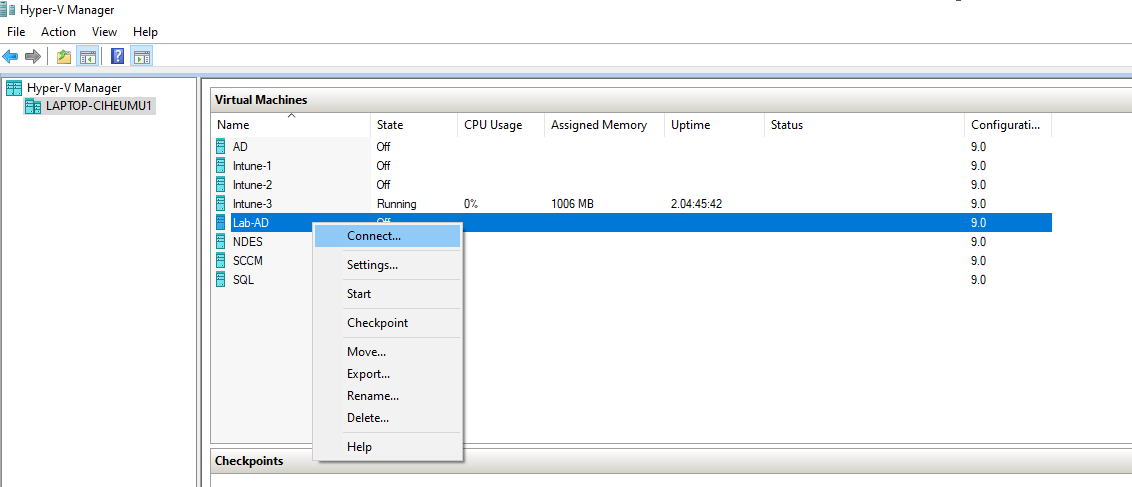
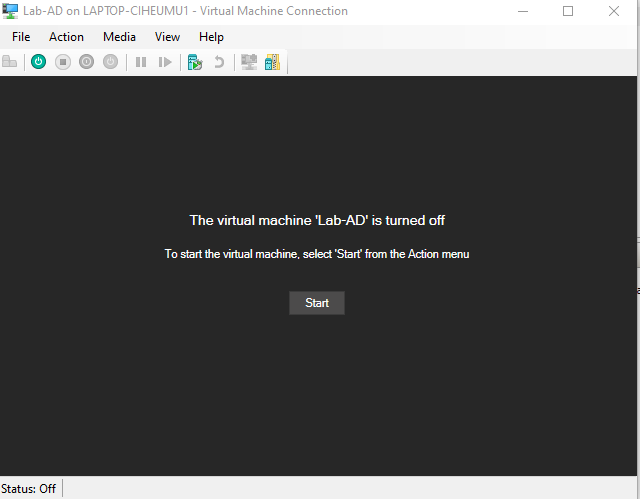
Go to the Hyper -V Manager then right click on Lab-AD then click on Connect.
Here click on Start.
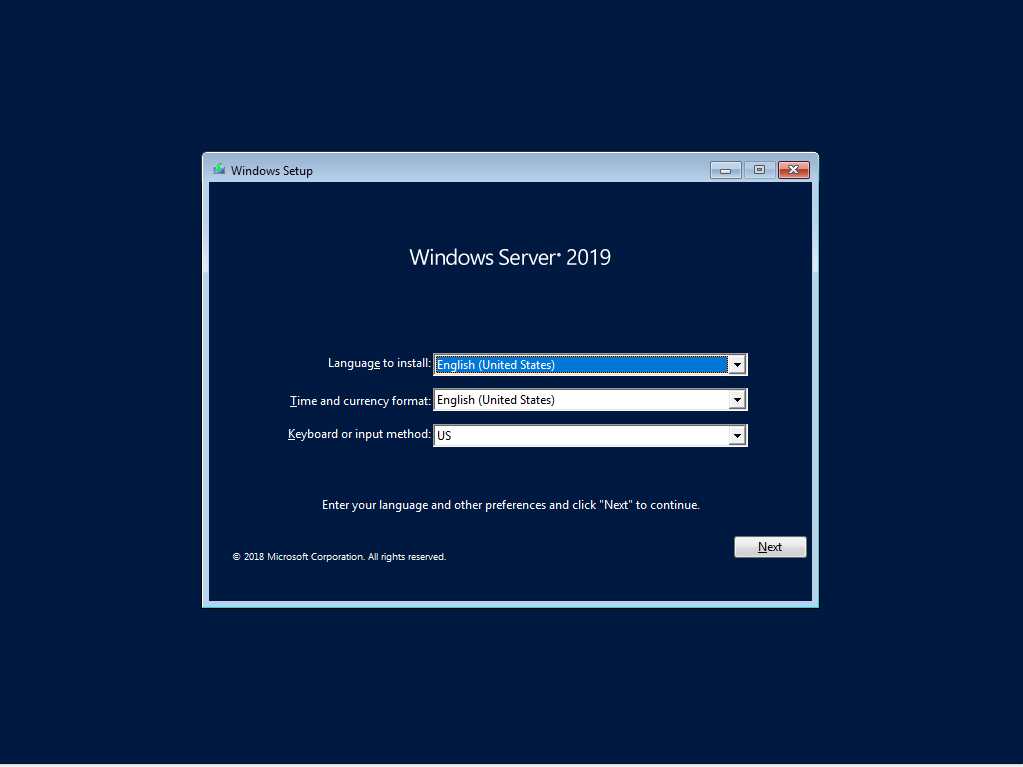
Windows Server will begin to Install. As we can see the blow screenshot.

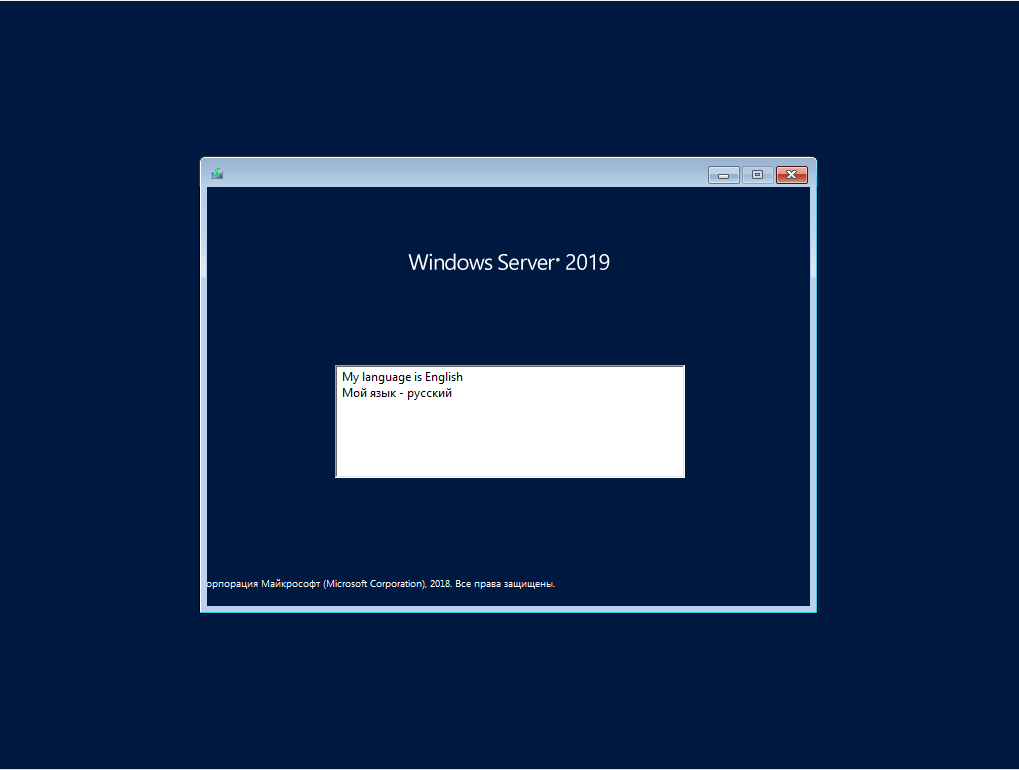
Here select the Language and Country then click on Next.
Then click on Install now.

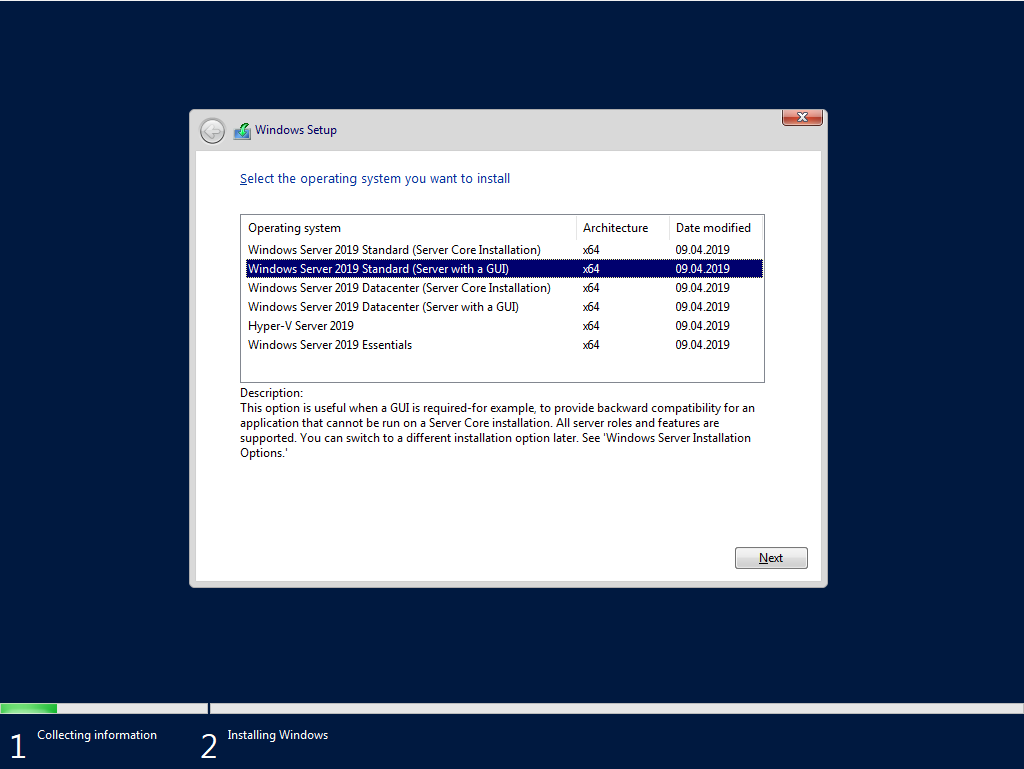
Here select the Windows Server whatever we want to Install then click on Next.
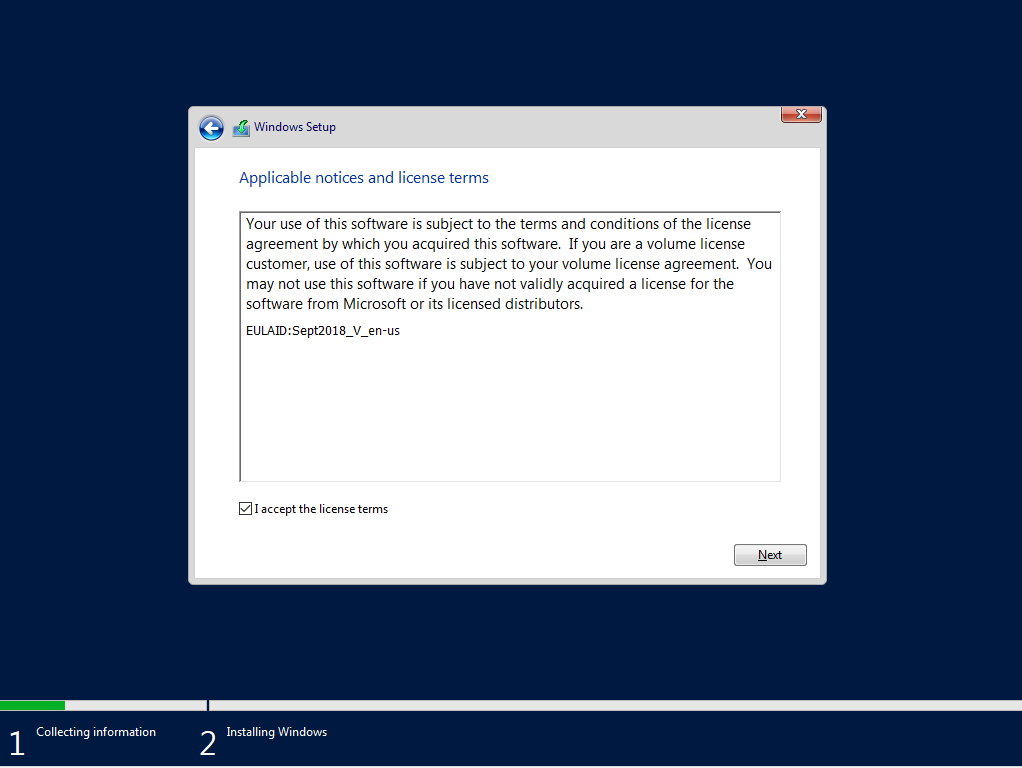
Here Accept the license terms then click on Next.
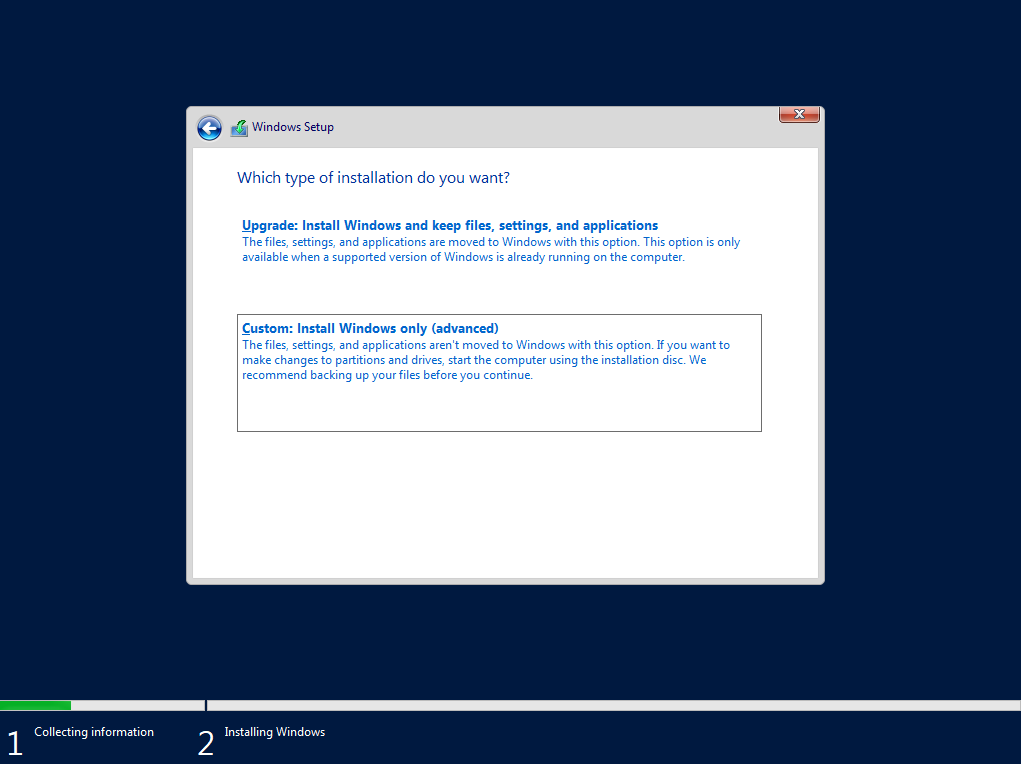
Here we can select the Upgrade and Custom whatever we want to select.
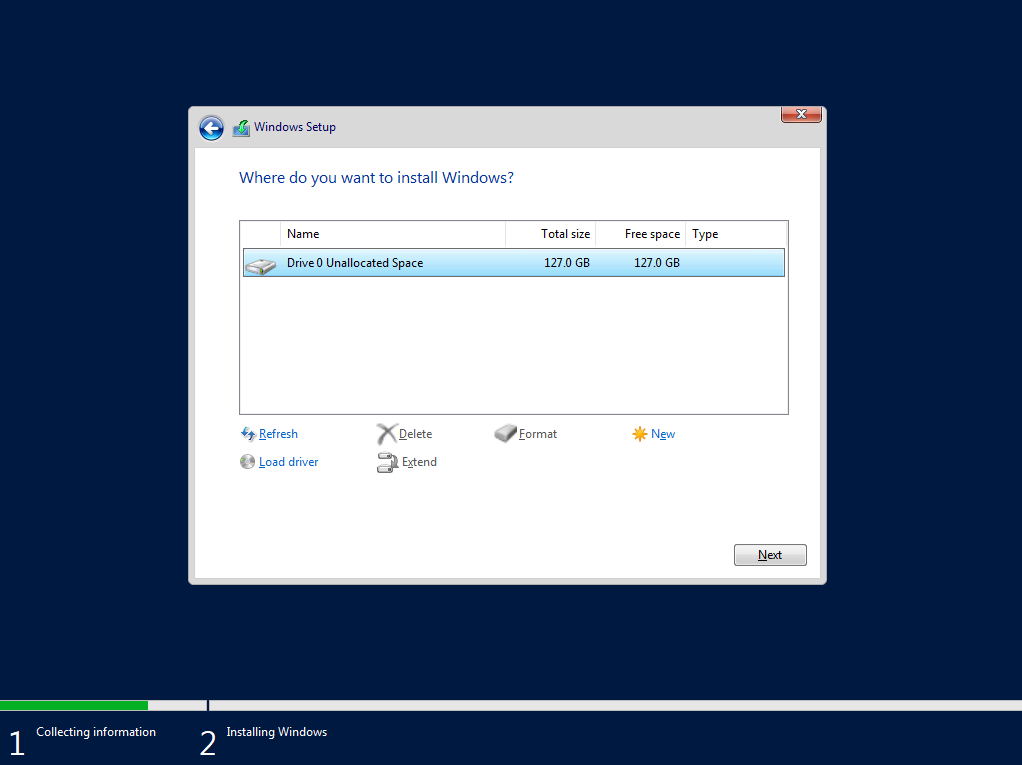
Here we can create the Drive Partition and select the Partition for Installing the windows server.
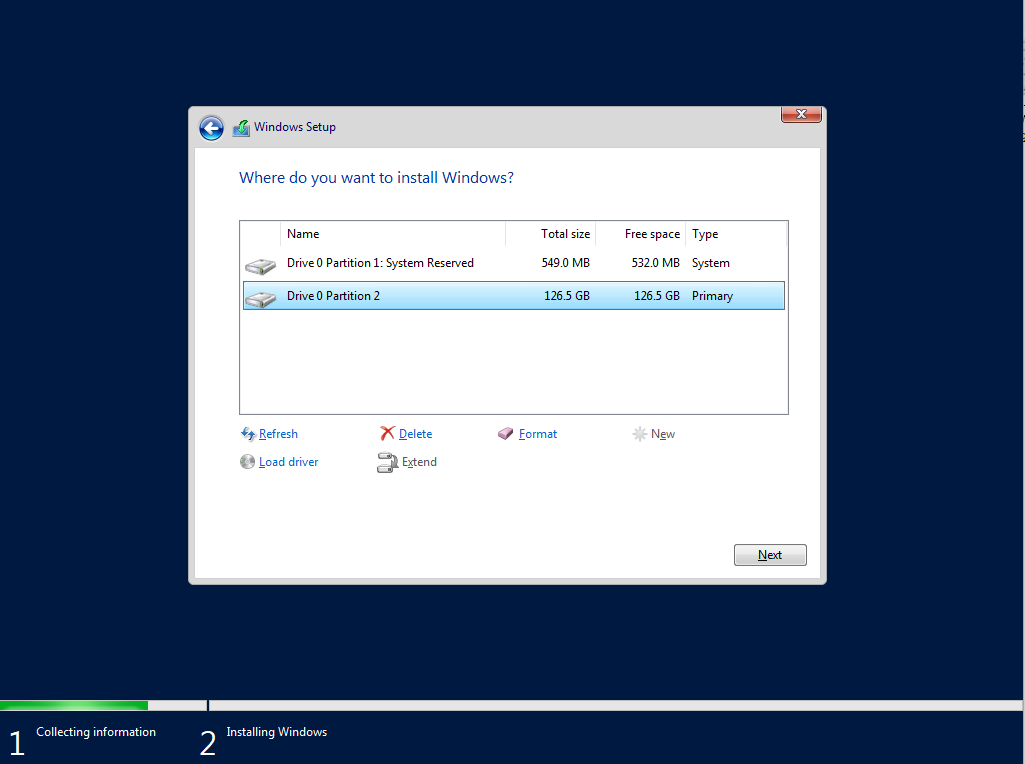
We have created and select then click on Next.
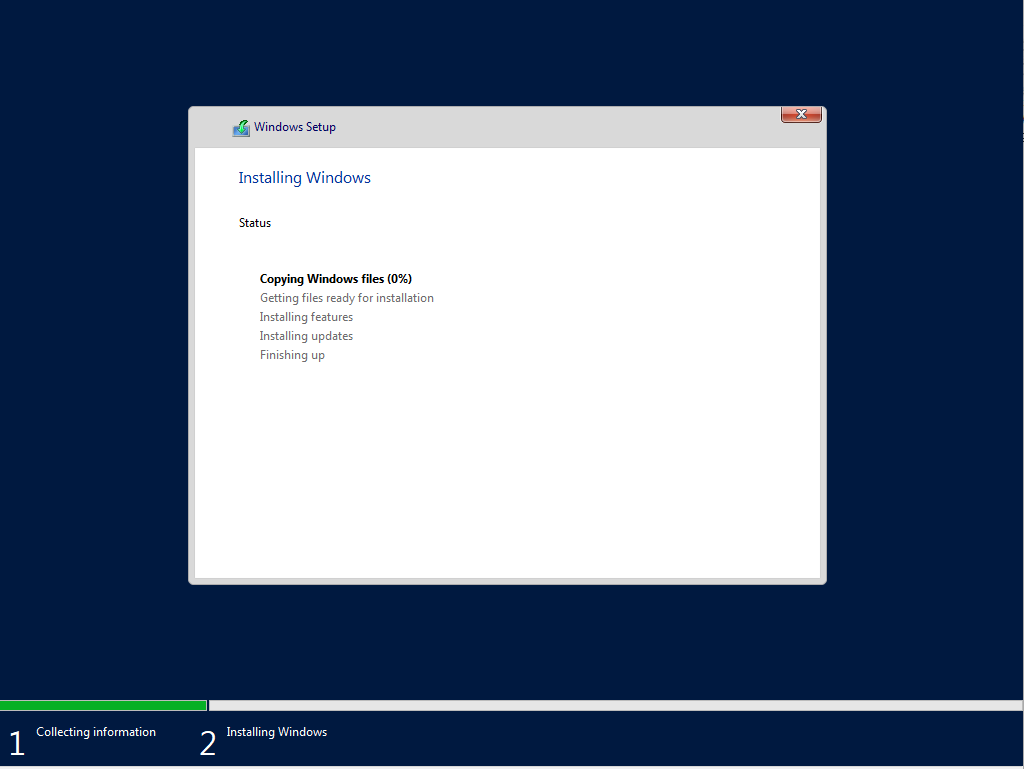
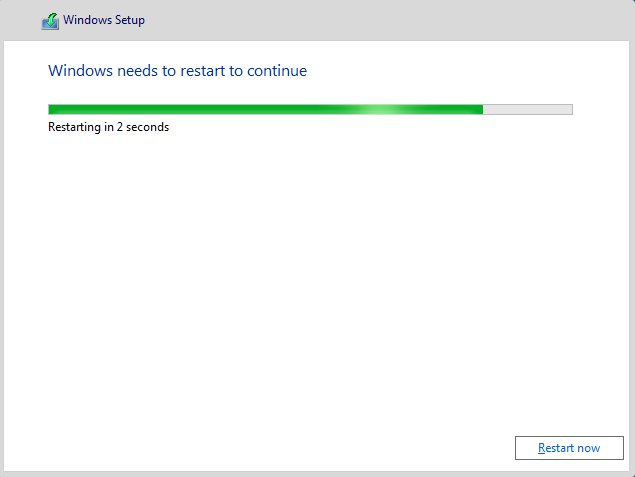
So now Windows server is installing.

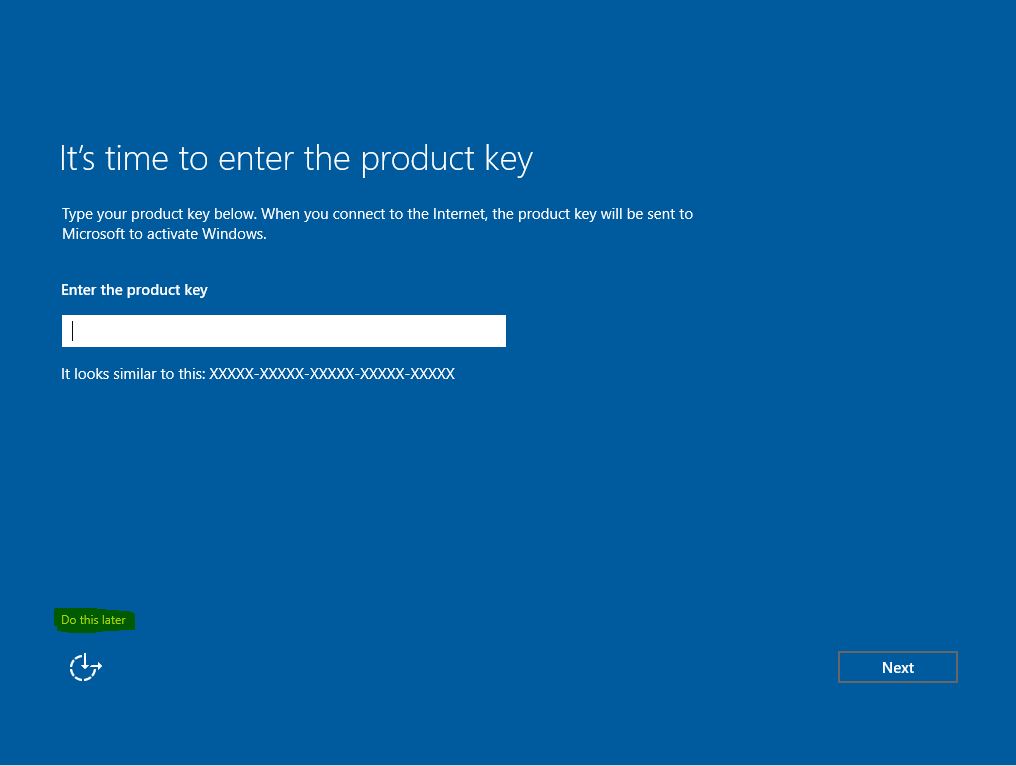
If we want to add Product key so we can put and click on Next, otherwise click on Do this later.
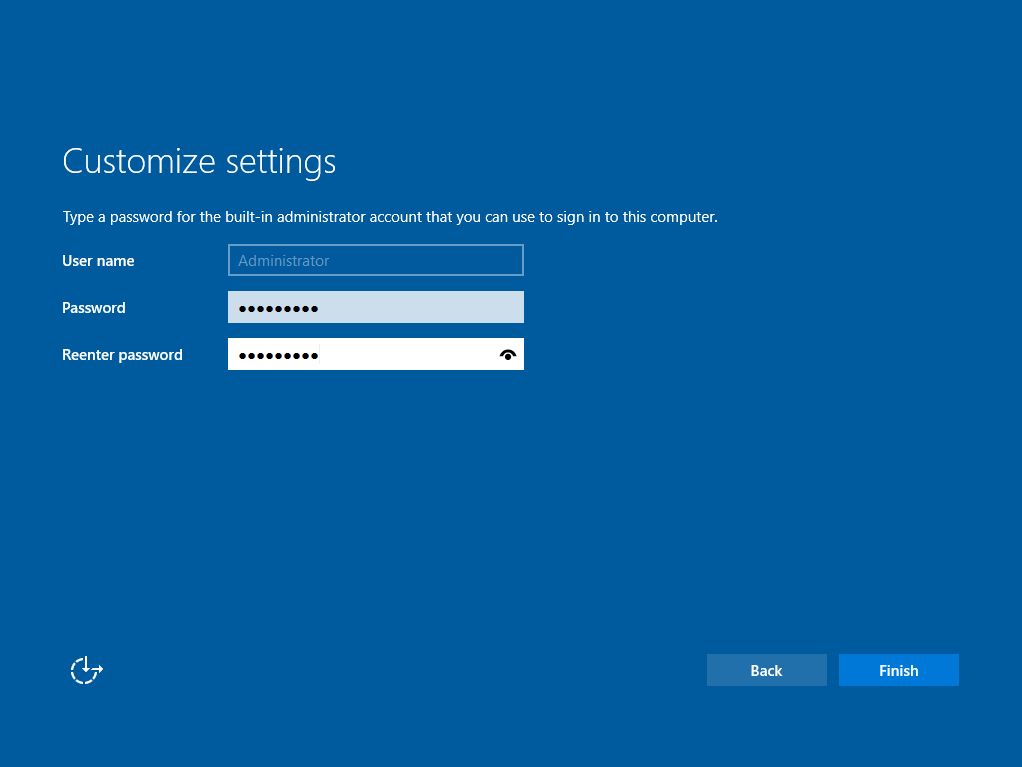
Here we can create the Password and click on Finish.